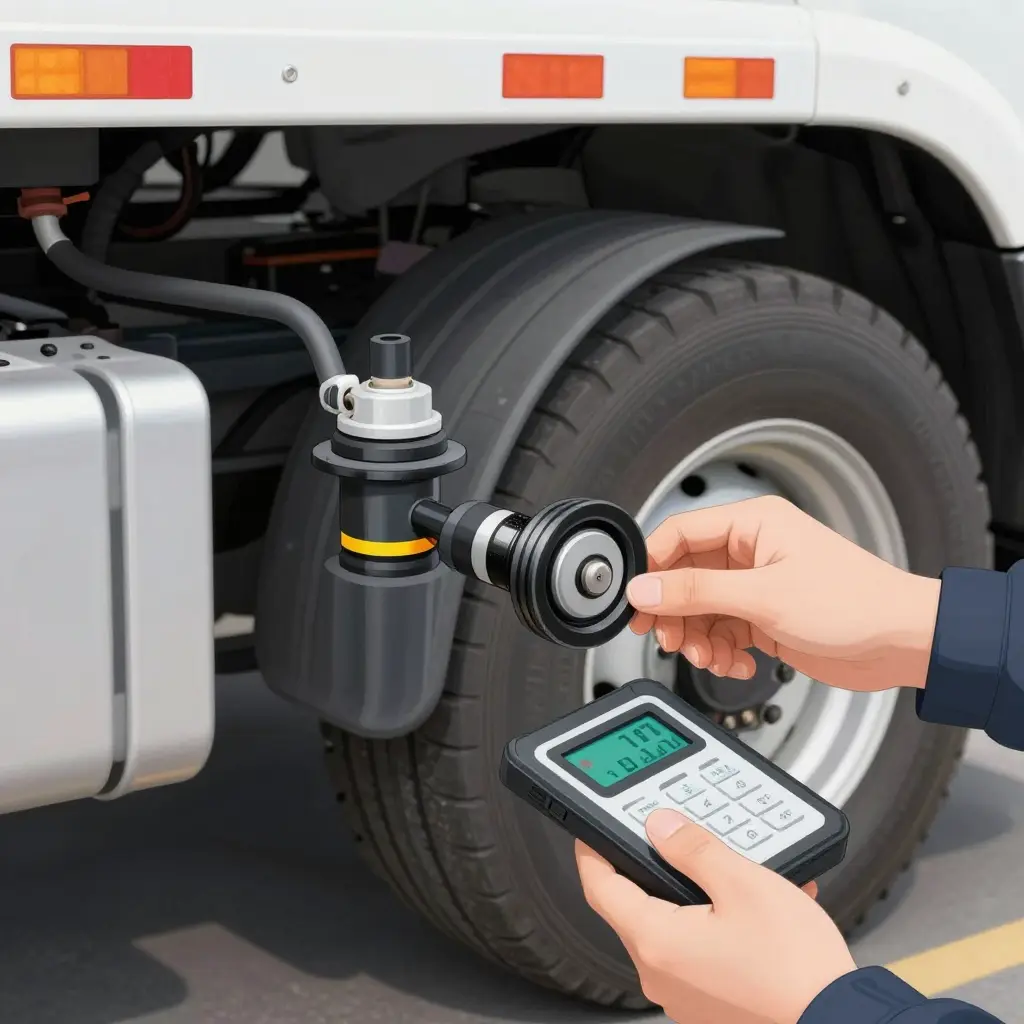
Why ABS Codes Appear Right After Wheel-End Service
A trailer rolls out of the bay after a wheel seal, brake job, or hub replacement, and a few miles later the ABS lamp comes on. In most of these cases the module is not the problem. The trailer ABS fault codes trace back to one of two things the wheel-end work just disturbed: the sensor gap or the tone ring. Check both before you chase wiring or start swapping parts. It is the fastest route to a diagnosis, and it prevents the comebacks that eat into a commercial truck and trailer repair schedule.
It is built for techs who need a repeatable process: air gap specs for common wheel-end assemblies, a diagnostic sequence that works at the bench and on the vehicle, a symptom-to-fault chart, and answers to the questions that come up most in the shop.
The logic is straightforward. Wheel-end work moves the hub, the sensor, or both. If the air gap drifts out of spec, or the tone ring turns out to be cracked, contaminated, or warped, the sensor loses a clean signal and the ECU stores a code. Restoring that signal starts with the two parts most techs skip.
Why a Repair Triggers a Trailer ABS Fault Code
Wheel-end service disturbs the very parts the ABS reads, so a stored code is often a side effect of the repair, not a failed component. The ABS electronic control unit (ECU) watches the wheel-speed signal from each ABS wheel-speed sensor and compares it against what it expects. An erratic, intermittent, or missing signal reads as a fault, and the ECU logs a code for that circuit even when the cause is purely mechanical.
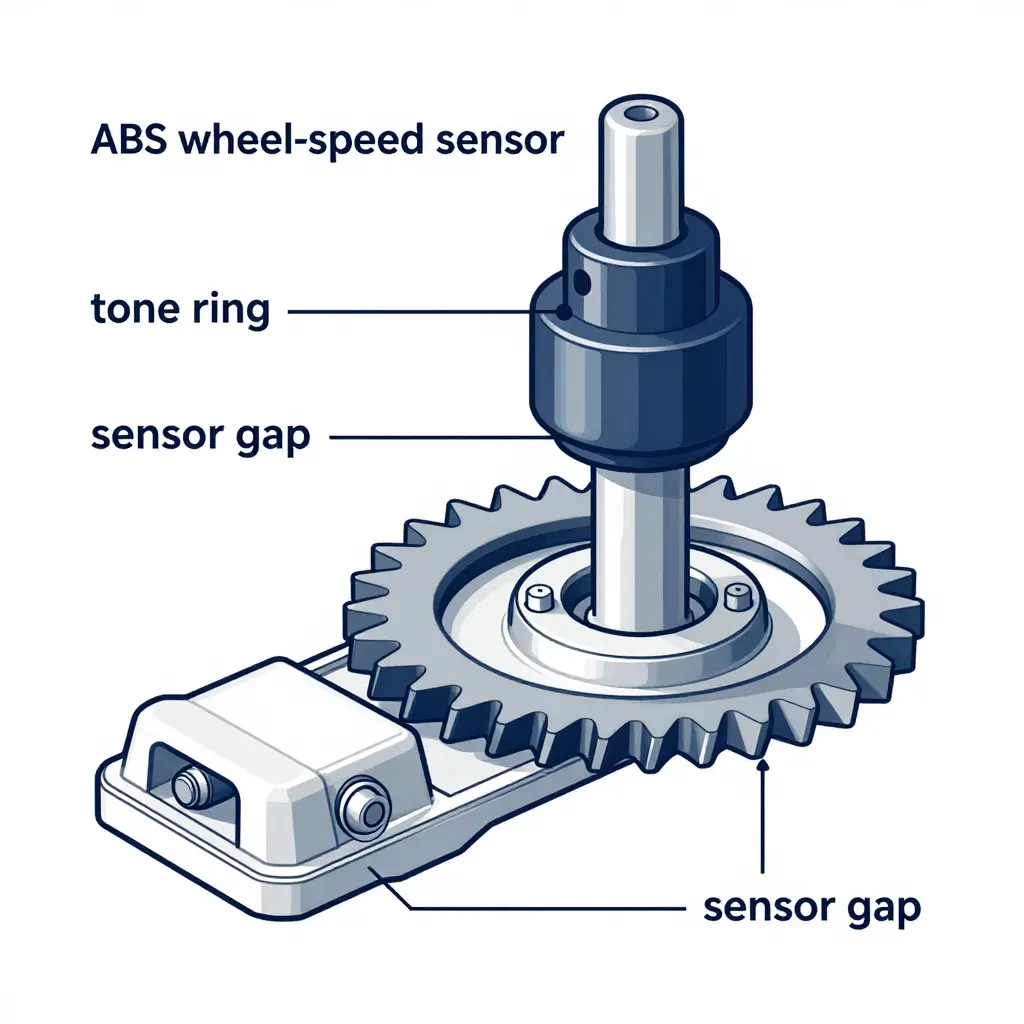
What gets disturbed after a repair:
- Sensor reinstallation depth: seat the ABS wheel-speed sensor too deep or too shallow and the sensor gap changes, weakening the signal until it drops out.
- Rust or debris on the tone ring: corrosion, metal shavings, or packed grease distorts the magnetic pulse pattern the sensor reads, and the result is a noisy signal.
- Damage during hub removal: prying or hammering a hub can nick the tone ring teeth or crack the sensor face, which shows up as a dead spot once per revolution.
- A misaligned mounting sleeve: a bent or rotated sleeve tilts the sensor, and the gap changes as the wheel turns.
- Loose or contaminated connectors: moisture, corrosion, or a partly seated plug interrupts the circuit; the trailer plug wiring diagram helps you trace that path.
The ECU never sees the physical cause, only the resulting signal, so it flags the circuit. Checking sensor gap and tone ring condition first isolates these mechanical triggers before anyone replaces a part.
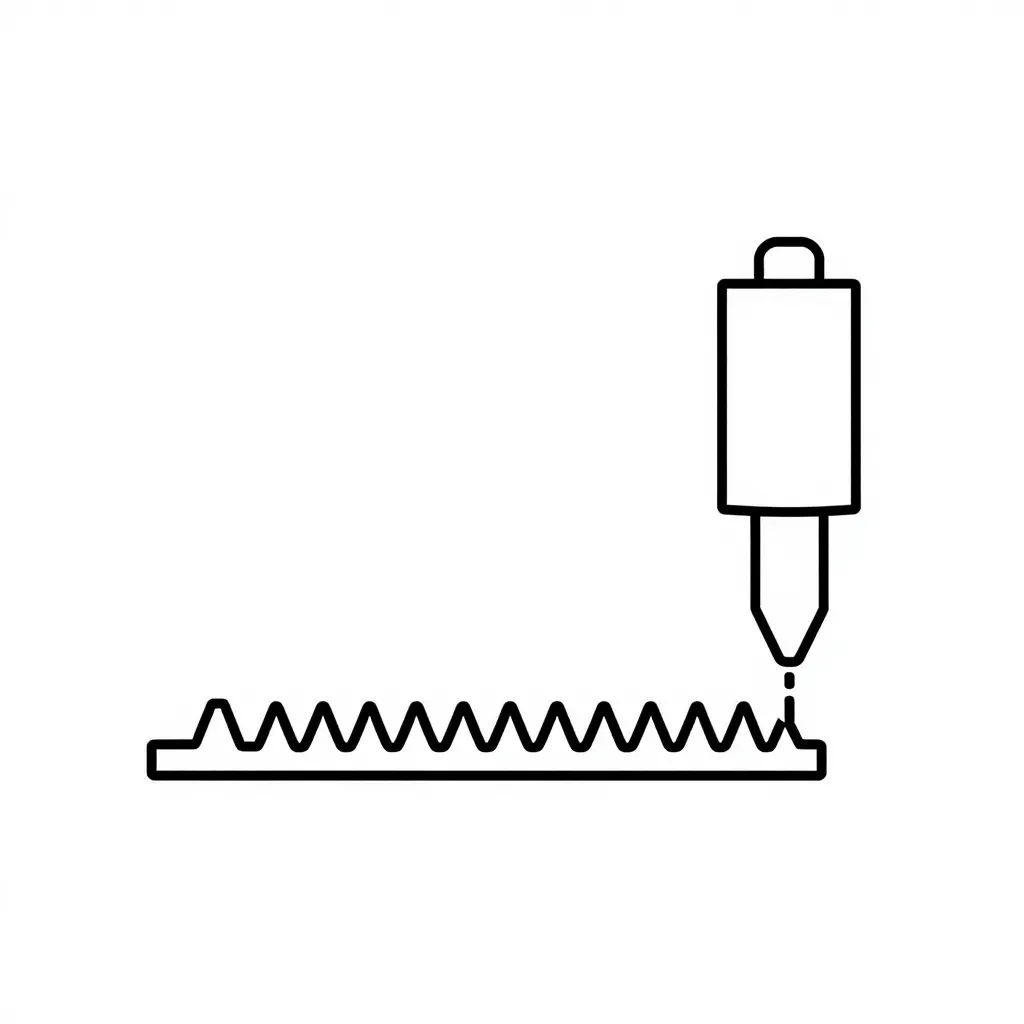
Figure: A simplified side view of the sensor-to-tone-ring relationship. The sensor tip sits above the tone ring teeth, and the vertical line marks the air gap to verify before you run diagnostics.
Get the geometry right before you chase a code. In the diagram, the sensor tip hovers just above the tone ring teeth, and that gap is what most often moves during a wheel-end service. Set the spacing, confirm the teeth are clean and intact, and you eliminate the most common false triggers before they reach the ECU. If you want to fold this check into a wider service routine, it helps to understand how routine commercial truck trailer repair keeps diagnostics fast and repeatable across a busy fleet.
Typical Trailer ABS Sensor Air Gap Specifications by System
Use these numbers as a starting point when you measure trailer ABS sensor air gap during trailer electrical diagnostics, but confirm the value in the manufacturer’s spec for your axle, hub, and ABS system before you condemn anything.
| ABS System / Component Type | Typical Recommended Air Gap (mm / inches) | Tolerance Notes | Warning Signs of Incorrect Gap |
|---|---|---|---|
| Standard trailer ABS wheel-speed sensor, in-hub tone ring (drum brakes) | 0.5 – 1.5 mm (0.020 – 0.060 in) | Measure perpendicular to the tone ring; recheck after the sensor is fully seated in its bore | Intermittent ABS lamp, random wheel-speed dropouts, sensor signal-loss codes |
| Trailer ABS sensor with a hub-mounted exciter ring | 0.5 – 1.2 mm (0.020 – 0.047 in) | Keep the gap uniform around the full circumference of the ring | Erratic speed readings at low speed, premature or harsh ABS engagement |
| Disc-brake trailer ABS sensor (rotor-integrated tone ring) | 0.3 – 1.0 mm (0.012 – 0.039 in) | Tighter window than drum setups; verify rotor and hub runout does not exceed spec | ABS lamp on at startup, wheel-speed channel flat-lining |
| Unitized / sealed-bearing hub with integrated sensor | 0.4 – 0.8 mm (0.016 – 0.031 in) | Generally non-adjustable; gap set by the bearing, so inspect for debris and seating | Persistent code after service, physical sensor or bearing damage |
| Aftermarket / retrofit clamp-in ABS sensor | 0.5 – 2.0 mm (0.020 – 0.079 in) | Wider tolerance range; confirm sleeve seating depth matches the supplied instructions | Frequent nuisance codes, inconsistent readings between wheels |
| Tone ring / exciter ring installation (reluctor ring on hub) | 0.5 – 1.5 mm (0.020 – 0.060 in) to sensor | Ring must be fully seated and concentric; never hammer it into place | Chipped or missing teeth, cracked ring, metallic debris clinging to the sensor tip |
Treat these as typical ranges, not universal rules. The gap is one link in the chain, so pair the measurement with a look at the tone ring and a scan-tool check of live wheel-speed data before you replace parts.
Shop-reported causes of trailer ABS fault codes after wheel-end service skew heavily toward two items. Sensor gap out of spec accounts for 38% of cases, and tone ring damage or contamination another 27%. That is nearly two-thirds from mechanical setup alone, which is why sensor gap and tone ring checks belong first in the diagnostic sequence.
Wiring and connector faults (18%) come next, usually a pinched harness or corroded plug disturbed during reassembly. Sensor failure (11%) and ECU-related faults (6%) make up the rest. Electronic parts do fail, but far less often than simple setup errors.
Quick Takeaways for the Shop Floor
- Check the gap first. A sensor that is improperly seated or spaced is the most common cause, so verify clearance to spec before anything else.
- Inspect the tone ring. Contamination, chipped teeth, or a bent ring generates erratic signals that look like a failed sensor.
- Then the wiring. Look for harness damage and connector corrosion left over from the wheel-end job.
- Sensor and ECU last. Replace parts only after the mechanical and wiring basics are ruled out.
Doing these first cuts diagnostic time and unnecessary parts replacement.
Tone Ring Inspection and Reinstallation Best Practices
The tone ring is the toothed steel ring on the wheel hub that the ABS wheel-speed sensor reads to calculate wheel speed. Inspect it during any wheel-end service before you assume the sensor failed, because a damaged or contaminated ring sends an erratic signal that behaves just like a dead sensor.
What to look for:
- Teeth: chipped, cracked, or missing teeth interrupt the magnetic pattern the sensor counts.
- Rust and corrosion: buildup between the teeth weakens signal strength and distorts the air gap.
- Bent edges and runout: spin the hub and watch for a ring that wobbles and changes the gap as it turns.
- Seating: the ring should sit squarely and fully against its shoulder on the hub, with no tilt and no gap.
- Contamination: metal shavings or packed grease bridging the teeth.
Clean the ring with a soft wire brush and brake cleaner, then wipe it dry. Do not grind or file the teeth; removing material ruins the reference pattern. To reseat, press the ring fully against the hub shoulder with the correct driver, not a hammer, so it stays perpendicular and flush.
Light surface rust usually cleans up and reseats fine. Replace the ring if teeth are chipped, missing, or cracked, or if it is bent; the broken pattern will set a false ABS fault. Reseat only when the ring is intact but was loose, tilted, or set too shallow.
| Condition Found | Action | Reason |
|---|---|---|
| Light surface rust, intact teeth | Clean and reseat | Signal pattern is still accurate |
| Chipped or missing teeth | Replace | Gaps create erratic speed readings |
| Cracked or bent ring | Replace | Runout changes the air gap |
| Loose or shallow seating, intact ring | Reseat to shoulder | Restores correct gap and position |
| Heavy debris or metal shavings | Clean, then recheck gap | Contamination mimics sensor failure |
Getting these steps right the first time keeps a wheel-end service efficient and profitable. For more shop-level tips, see maximizing profitability in commercial truck and trailer repair.
Sensor Gap Conditions: Symptoms, Signals, and Fixes
When the ABS light comes on after wheel-end service, compare what you see in the shop against this table. Matching the symptom to the code behavior points to a gap or tone ring problem before you touch the wiring. For shops that protect uptime through profitable repair practices, the rule is the same: sensor gap and tone ring checks come first.
| Condition | Resulting ABS Symptom | Likely Fault Code Behavior | Recommended Corrective Action |
|---|---|---|---|
| Gap Too Wide | ABS light on; weak signal causes dropouts and erratic low-speed activation | Intermittent or erratic wheel-speed sensor code; wheel-speed loss | Push sensor to seat against the tone ring with the correct clip; recheck clearance with a feeler gauge |
| Gap Too Narrow | Sensor rubs the tone ring, generating noise and possible sensor damage | Open-circuit or sensor-failure code after tip wear | Reseat with the correct spacer/clip to restore clearance; replace the sensor if worn |
| Correct Gap | No ABS fault; clean, stable wheel-speed signal at all speeds | No active codes; all monitors pass | No action needed; confirm with a scope trace and return the unit to service |
| Contaminated Sensor Tip | Grease, rust, or metal shavings distort the signal, causing intermittent ABS light | Erratic wheel-speed signal; dropouts under load | Clean the tip and tone ring, remove debris, and reseat the sensor |
| Damaged Tone Ring | Chipped, bent, or missing teeth create erratic readings and false activation | Wheel-speed sensor signal loss or erratic code | Replace the tone ring or hub assembly and verify gap after installation |
Common Mistakes When Chasing Trailer ABS Fault Codes
Experienced techs lose time on trailer ABS fault codes by skipping the basics. These are the usual missteps:
- Replacing the sensor first. Measure the sensor gap before you open the parts catalog. An out-of-spec gap sets the same code as a dead sensor, so the new part changes nothing.
- Ignoring tone ring contamination. Grease, metal shavings, and corrosion scramble the signal. Clean and inspect the ring before you blame electronics, and check it for cracks or missing teeth.
- Reusing a damaged mounting sleeve. A worn or cracked sleeve throws the gap off immediately. Fit a new sleeve whenever you remove a sensor.
- Over-tightening sensor fasteners. Excess torque distorts the sensor body and shifts the air gap. Snug to spec, then check again.
- Not clearing stored codes. Old faults mask new ones. Clear memory, then road-test to confirm the repair.
- Assuming the ECU is faulty. The controller is rarely the culprit. Rule out wiring, connectors, and moisture intrusion first, and check the pinout in this semi truck trailer plug wiring guide before replacing any module.
Work the chain in order: gap, tone ring, sleeve, torque, code reset, then wiring. Do that and the ECU usually stays where it is.
Frequently Asked Questions
What is the correct air gap for a trailer ABS sensor?
Most trailer ABS wheel-speed sensors sit roughly 0.010 to 0.040 inches (0.25-1.0 mm) from the tone ring, but confirm the figure in your OEM service data for the axle. Push the sensor fully into its mounting block so it seats against the ring, then let normal wheel rotation set the final clearance. A consistent sensor gap at every wheel end keeps readings stable and prevents erratic trailer ABS fault codes.
Why does an ABS fault code appear right after wheel-end service?
A code right after a repair usually means something was disturbed: a sensor knocked out of position, a bent or greasy tone ring, metal debris on the magnet, or a pinched harness. Recheck sensor seating and inspect the ring before blaming the sensor. Scanning first saves time and keeps the job profitable.
How do I test a tone ring without special tools?
Jack the wheel up and spin it slowly while you watch the tone ring. A healthy ring is clean, flat, and free of cracks, missing teeth, or heavy rust. You can confirm signal quality with a basic multimeter set to AC volts, or an oscilloscope if you have one. Distortion in the waveform points to the ring.
Can a dirty tone ring cause an ABS fault code?
Yes. Metal shavings, grease, or rust interrupt the magnetic signal, so the ECU sees erratic wheel speed and logs a fault. Wipe the tone ring clean with a lint-free cloth and inspect it for damage. It is one of the most overlooked causes of trailer ABS fault codes and one of the easiest to check.
Should I replace the sensor or adjust the gap first?
Adjust the sensor gap and clean the tone ring first. Most codes clear once the sensor is properly seated and the ring is clean. Replace the sensor only if the gap is correct and the fault remains, or if the sensor is physically damaged, such as a cracked body or frayed wiring.
How do I clear ABS fault codes after repair?
After the root cause is fixed, clear codes with a scan tool or the trailer ABS diagnostic blink-code procedure. Test-drive the unit and confirm the lamp stays off and no codes return. If the light comes back, recheck the sensor gap and tone ring before swapping parts.
Key Takeaways for Your Shop
When trailer ABS fault codes appear right after a wheel-end service, resist the urge to chase the computer. Most of the time the culprit is something you can fix in minutes: a sensor pushed too far from the tone ring, a bent or cracked ring, or a gap that drifted out of spec during reassembly. Those are the most common causes, and they belong at the top of the diagnostic sequence.
Keep the order: verify the sensor gap with a feeler gauge, inspect the tone ring for damage and debris, then confirm seating and connections before you replace a sensor or module. Check your readings against the manufacturer’s specs, because “close enough” is how comebacks start. That kind of spec-driven habit keeps bays turning and customers happy on every job, as outlined in maximizing profitability in commercial truck and trailer repair. Measure first, trust the specs, and the codes usually sort themselves out.